Hip Dips Are Normal: Exercises for Shape Without Obsession
For years, women have felt pressured to eliminate something that is completely normal: hip dips. Also known as violin hips, hip dents, or trochanteric depressions, hip dips are simply inward curves between the hip bone and the top of the thigh. They are not a flaw. They are not a sign of poor fitness. They are not something you “failed” to fix.
They are anatomy.
In fact, almost every woman has them to some degree, because hip dips are primarily shaped by bone structure, pelvis width, and natural fat distribution. No amount of exercise can erase them entirely because they are not caused by weak muscles.
However, you can develop the surrounding muscles to create smoother curves, stronger hips, and a more rounded silhouette.
Not by obsession.
Not by chasing unrealistic perfection.
But by strengthening the glutes, improving stability, and enhancing shape from a place of self-care.
This article breaks down what hip dips truly are, why they’re normal, and how to train in a way that enhances your figure without feeding insecurity.
Because fitness should be empowering, not punishing.
What Exactly Are Hip Dips?
Hip dips are the inward indentation where your pelvis meets the top of your femur (thigh bone). They naturally occur because:
- Your hip bones are higher than your thigh bones
- Your glute muscles attach around the hip socket
- Fat and muscle distribute differently for each person
If you stripped away everyone’s fat, muscle, and skin, the dip would still be there because it is tied to skeletal structure.
Some key truths:
- People with wider-set hips often have more visible dips
- Women with higher hip bones may see sharper dips
- Those with very athletic legs may show dips simply because muscle is defined
- Slim women may see them more, but curvier women have them too
- Even fitness models and athletes have hip dips
Hip dips are not cellulite, not fat pockets, not a sign of weak hips, and not something you “caused.” They are a normal part of human anatomy.
Why Hip Dips Are Not a Flaw
Hip dips gain negative attention only because social media magnifies tiny details and sells an unrealistic, highly filtered image of the female body. The modern “hourglass ideal” often hides hip dips with posing, lighting, angles, or selective fat distribution.
But in real life:
- Strong women have hip dips
- Healthy women have hip dips
- Models have hip dips
- Athletes have hip dips
Hip dips show movement, flexibility, and natural structure. They help your hip joint function. They allow your glutes to attach and move properly. They play a role in walking, running, lifting, and balance.
Trying to eliminate hip dips is like trying to eliminate your ankle bone. You can enhance the area, but the natural shape remains.
This article will help you do exactly that — enhance shape without obsessing over changing your skeleton.
Can You Completely Get Rid of Hip Dips?
Short answer: no.
Long answer: you can dramatically smooth and improve the appearance of the hip dip area by building:
- the upper glutes (gluteus medius and minimus)
- the side glutes
- the lower glute shelf
- surrounding muscles of the hip and thigh
But you cannot completely erase a structural feature. And you don’t need to.
Your goal should not be to remove hip dips, but to build more shape around them, creating smoother curves and stronger hips.
That is achievable for every woman.
What Causes More Pronounced Hip Dips?
Hip dips appear more prominent due to a combination of factors:
1. Pelvic Bone Structure
A high, wide pelvic bone naturally creates more space between the hip bone and femur. This deepens the curve.
2. Low Body Fat
Leaner bodies often reveal hip dips more clearly.
3. Low Glute Medius Development
The upper glute muscles add roundness. If they’re underdeveloped, the dip looks deeper.
4. Small Glute Max Volume
The glute max builds the “shelf” on the lower butt. If it’s undeveloped, hips look straighter.
5. Weak Hip Stabilizers
Weak muscles around the hip socket reduce shape and support.
Understanding these factors is key to addressing them intelligently.
The Goal: Shape, Strength, and Stability — Not Perfection
To minimize the appearance of hip dips while embracing your natural shape, your training should focus on three things:
- Building the upper booty (gluteus medius and minimus)
- Strengthening the side glutes for curve and support
- Growing the glute max to enhance overall roundness
When these muscles grow, they add volume around the dip, softening its appearance.
This approach is sustainable, healthy, and results-driven — and it avoids feeding body dysmorphia or unhealthy standards.
The Best Exercises to Reduce Hip Dip Appearance
Below are the exercises that specifically target the muscles surrounding hip dips. They will not remove the dips, but they will build the shape that helps them look smoother.
Each exercise includes a purpose, tips, and why it works.
1. Side-Lying Leg Raises
This is one of the most direct upper-glute isolation exercises.
Why It Works
It targets the gluteus medius — the muscle responsible for shaping the outer curve.
Tips
- Keep hips stacked
- Lift slowly
- Avoid leaning backward
- Perform with control
Sets
3 sets of 15–20 per side
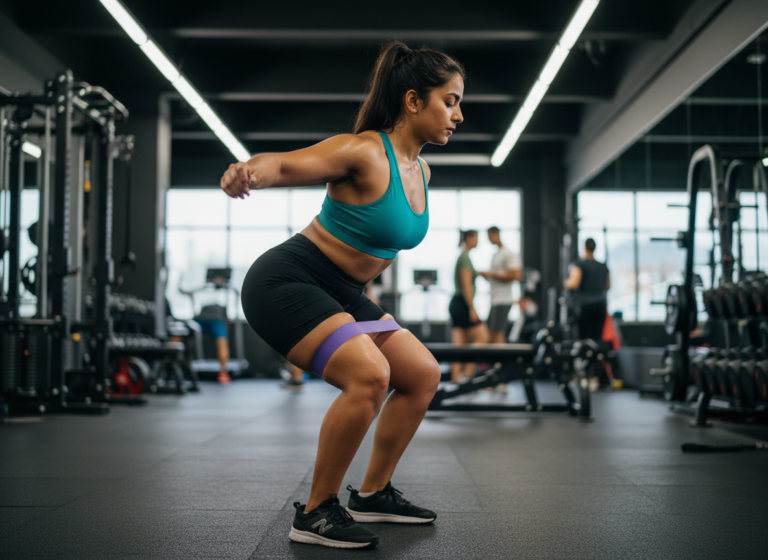
2. Standing Hip Abductions
A standing variation to improve hip stability and outer-booty shape.
Why It Works
It strengthens the abductor muscles and improves balance.
Tips
- Keep toes facing forward
- Lift the leg out, not backward
- Tighten core for stability
Sets
3 sets of 12–15
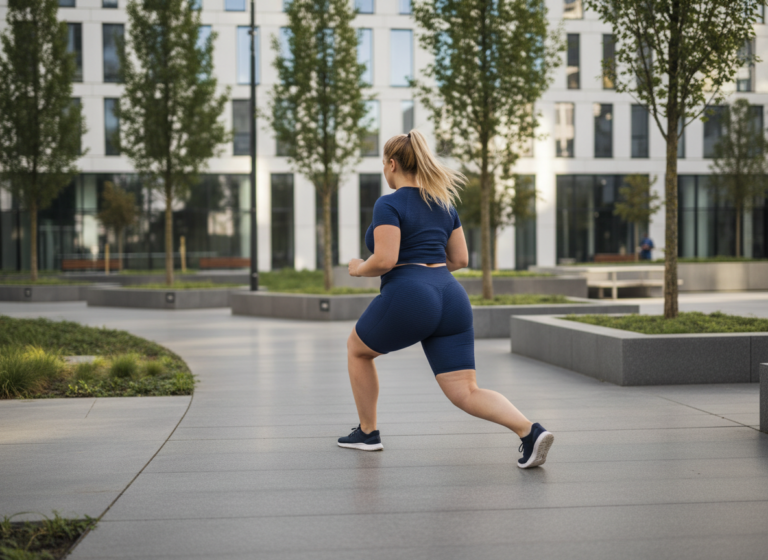
3. Curtsy Lunges
A favorite for shaping the outer glutes and adding roundness to the hip area.
Why It Works
The diagonal step back activates the side glutes deeply.
Tips
- Step far enough behind the front leg
- Keep chest upright
- Focus on glute contraction
Sets
3 sets of 10–12 per side
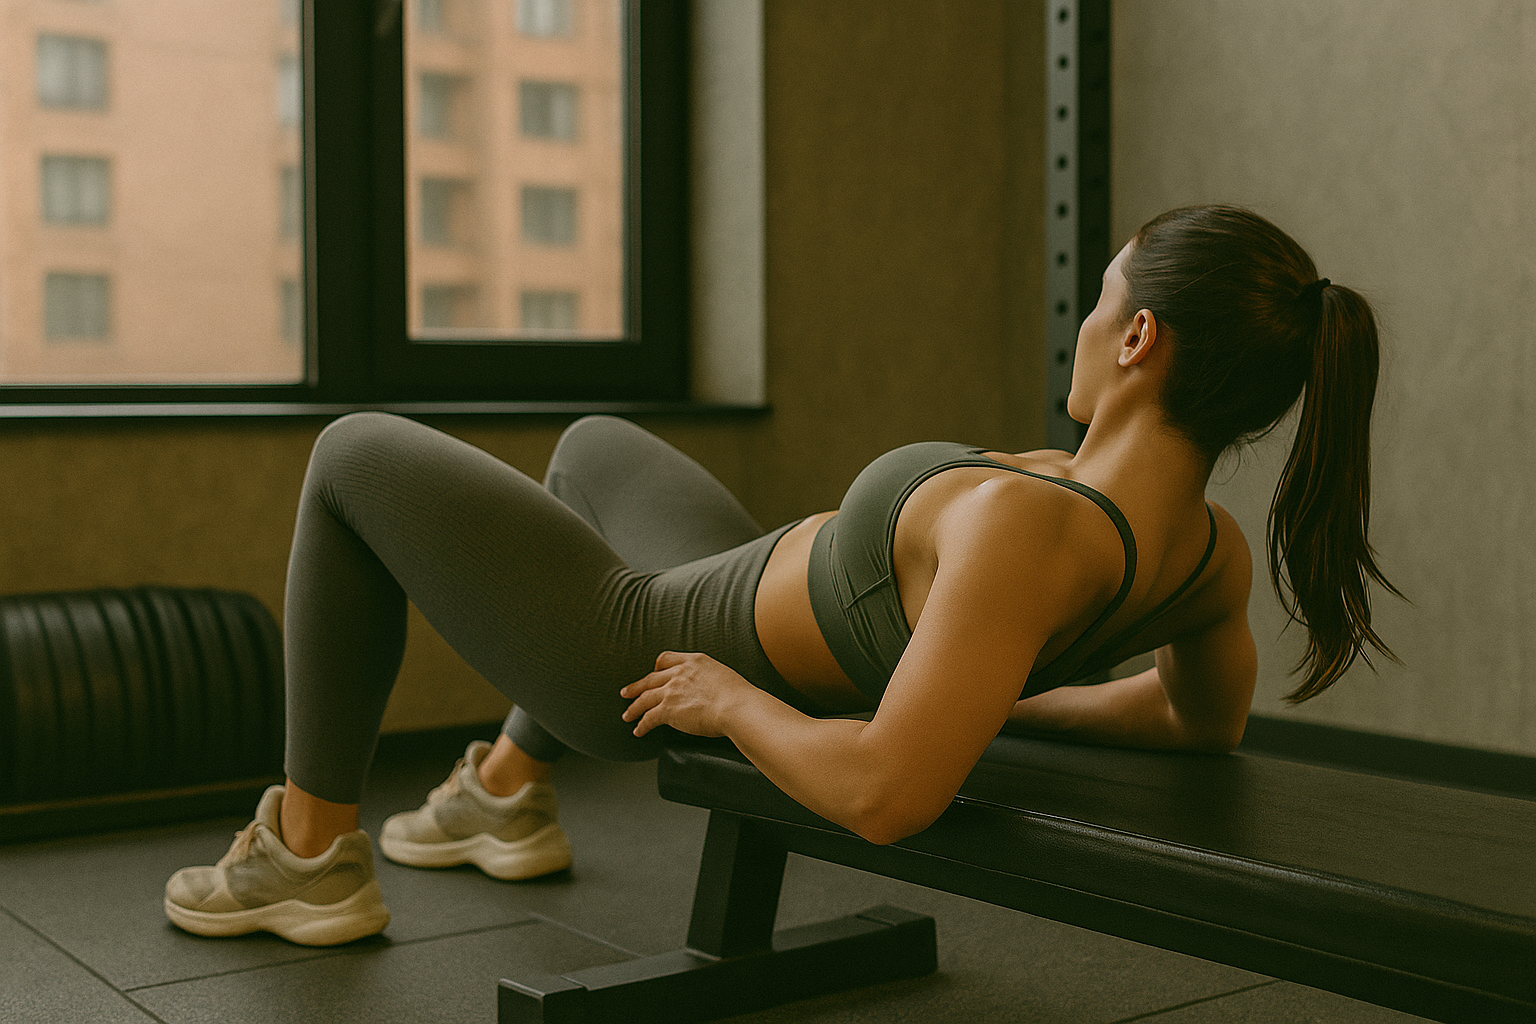
4. Hip Thrusts
This is essential for building the glute max, which supports fuller hips overall.
Why It Works
Hip thrusts are the most effective exercise for building the lower-glute shelf and overall booty projection.
Tips
- Drive through the heels
- Squeeze at the top
- Avoid arching lower back
Sets
3–4 sets of 10–12
5. Glute Bridges (Banded or Bodyweight)
Excellent for beginners or home workouts.
Why It Works
They teach proper glute activation and build foundational strength.
Tips
- Place band above knees for extra tension
- Keep shins vertical
- Push knees outward slightly
Sets
3 sets of 15
6. Fire Hydrants
This is one of the most effective hip dip–targeting exercises.
Why It Works
It isolates the upper-outer glutes and strengthens the muscle curve.
Tips
- Keep hips square
- Lift knee out to the side
- Avoid twisting the torso
Sets
3 sets of 12–15 per side
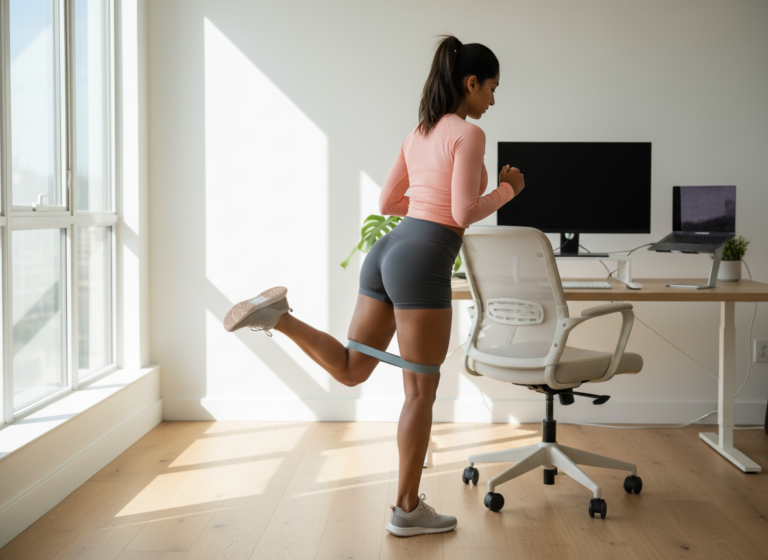
7. Donkey Kicks
This exercise improves roundness in the glute max.
Why It Works
It strengthens the lower and mid-glute, creating shape that offsets hip dips.
Tips
- Keep foot flexed
- Lift slowly
- Don’t arch the back
Sets
3 sets of 12–15 per side
8. Lateral Band Walks
One of the best functional exercises for smoothing the hip dip area.
Why It Works
It trains your glute medius under tension and improves hip control.
Tips
- Use a medium band
- Take slow, controlled steps
- Keep knees slightly bent
Sets
3 rounds of 10 steps each direction
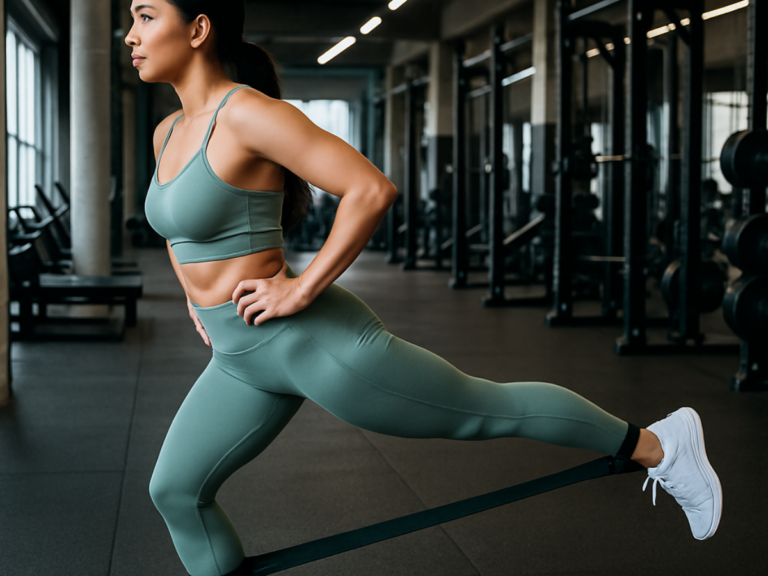
9. Bulgarian Split Squats
A powerful compound movement for shaping the entire lower body.
Why It Works
It targets the glutes from a stretched position, promoting growth.
Tips
- Lean slightly forward
- Push through the heel
- Keep torso steady
Sets
3 sets of 8–10 per leg
10. Side-Lying Hip Raises
This is different from a side plank.
You lift your hip upward, engaging the upper glutes intensely.
Why It Works
It builds the curve above the hip dip.
Tips
- Keep elbow under shoulder
- Lift with the hip, not waist
- Perform slowly
Sets
3 sets of 10–12
Sample Weekly Anti–Hip Dip Workout Plan
Perform these three days per week for 8–12 weeks.
Day 1: Upper Glute Sculpting
- Side-Lying Leg Raises — 3 × 15
- Fire Hydrants — 3 × 12
- Standing Abductions — 3 × 12
- Glute Bridges — 3 × 20
- Band Walks — 3 rounds
Day 2: Booty Strength and Shape
- Hip Thrusts — 4 × 10
- Bulgarian Split Squats — 3 × 8 per leg
- Curtsy Lunges — 3 × 12 per leg
- Donkey Kicks — 3 × 12 per side
Day 3: Combined Shape Day
- Glute Bridges (slow tempo) — 3 × 15
- Side-Lying Hip Raises — 3 × 12
- Kickbacks — 3 × 12
- Fire Hydrants — 2 × 15
- Band Walks — 3 rounds
How Long Until You Notice Changes?
Realistic expectations create confidence, not disappointment.
- 2–3 weeks: better glute activation
- 4–6 weeks: smoother side-hip appearance
- 6–10 weeks: visible shape improvement
- 12+ weeks: dramatic curve and roundness
Remember: the goal is improvement, not erasing natural anatomy.
The Mindset Shift: Stop Obsessing, Start Strengthening
Hip dips are not a flaw.
They are not a weakness.
They are not something you need to apologize for or hide.
Building shape can absolutely improve your figure, but it must come from a place of:
- empowerment
- confidence
- health
- body awareness
Not insecurity or comparison.
The strongest, most attractive thing a woman can wear is confidence rooted in strength, not perfection.
Final Thoughts: Hip Dips Are Normal — But You Can Sculpt Your Shape with Confidence
Your hip structure may create dips, but your training can create curves, strength, and symmetry that enhance your natural beauty.
Glute development changes the overall aesthetic of your hips, lower body, and posture.
You can improve shape without ever needing to obsess or chase unrealistic ideals.
Build strength.
Build confidence.
Build curves on your terms.
Your hip dips are part of your story, not a flaw in it.